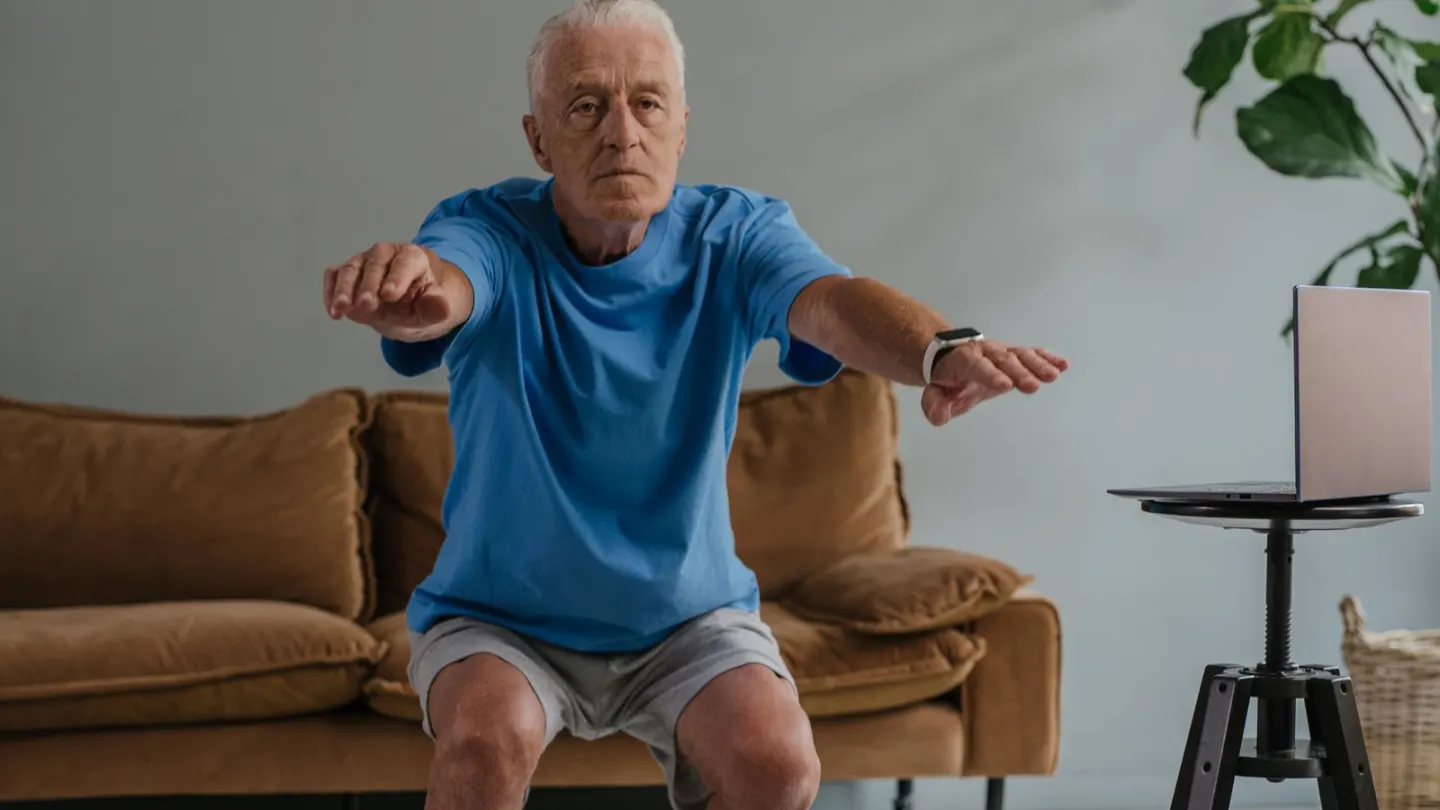
A wall sit progression turns a 20-second shake into a calm home hold. You add time, then control, not noise or jumps.
A wall sit progression is a still squat against a clear wall. You slide down, pause, and stand back up. Thighs, hips and calves do the work. No kit is required. NHS and CDC advice still asks adults for muscle work on at least two days a week. This hold can be one lower-body piece of that week, next to a walk.
Why a still wall hold belongs at home
Many spare rooms have a wall and a rug. They do not have a squat rack. A still hold trains the thighs without a barbell. You can keep the volume low. You can also keep the floor quiet.
NHS pages for adults aged 19 to 64 include muscle work for the major groups on two or more days. The CDC matches that two-day strength target. It also asks for at least 150 minutes of moderate aerobic activity a week. The WHO uses the same aerobic floor. A wall hold is not a full week on its own. Pair it with a hinge or bridge, a push, a row, and walking.
The NHS strength list includes squats you can do at home. A wall sit is a close cousin. The wall gives you a backstop. That can feel steadier than a free squat on a first week. It is not a treatment for sore knees. It is one way to load the legs in a small space.
If you want a whole-body map around this hold, the no-equipment full-body session shows how a squat pattern sits with other moves.
How to set up a wall sit progression
Pick a blank wall. Check for radiators, picture hooks and wet paint. Stand with your back against it. Walk the feet forward about two shoe lengths. Keep them hip-width. Point the toes forward, or a touch out.
Slide down until the thighs are roughly level, or higher if level feels sharp. Knees should track over the middle of each foot. Heels stay down. Lightly brace the midriff. Rest the arms by your sides, or hold a light reach forward. Do not press the palms into the thighs. That cheats the hold.
Breathe. A 20-second start is enough if the shape stays tidy. If 20 seconds forces a grimace or a heel lift, stop higher on the wall. A higher sit is still work. Stand by walking the feet in and pressing through the heels. Do not lock the knees with a snap.
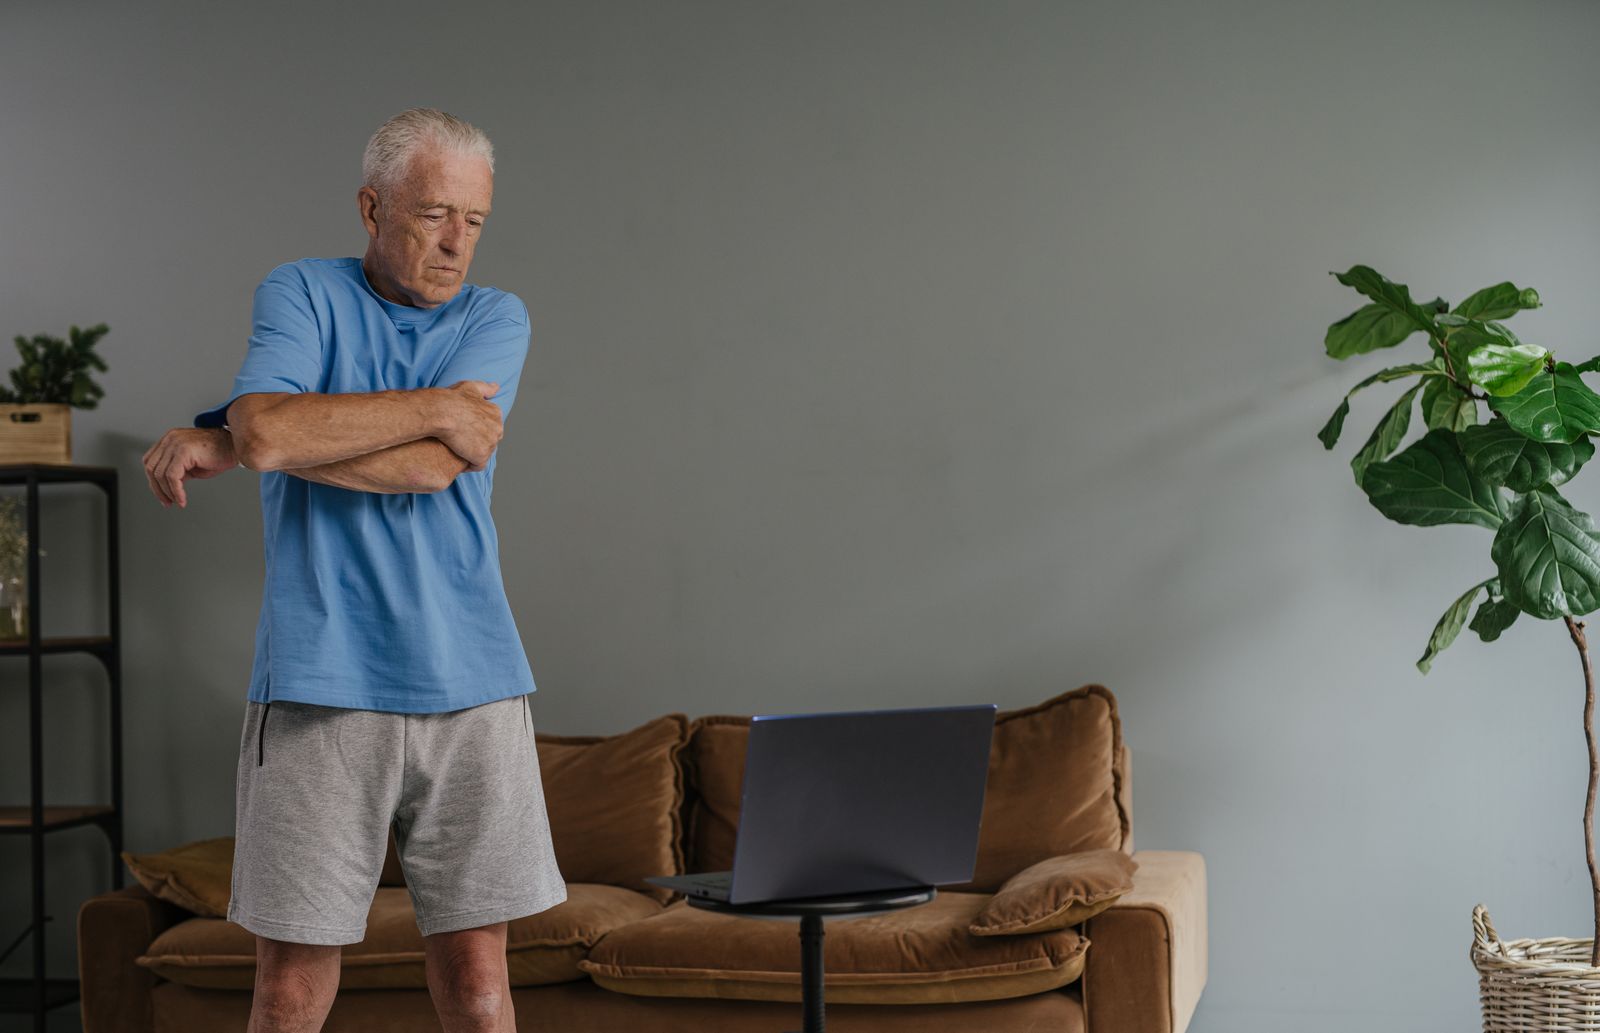
Shoes with a firm sole help you feel the heel. Bare feet on a slick floor can slide. Socks on wood are a poor mix. A yoga mat under the heels can stop a slip without turning this into a jump drill.
A sample wall sit progression you can repeat
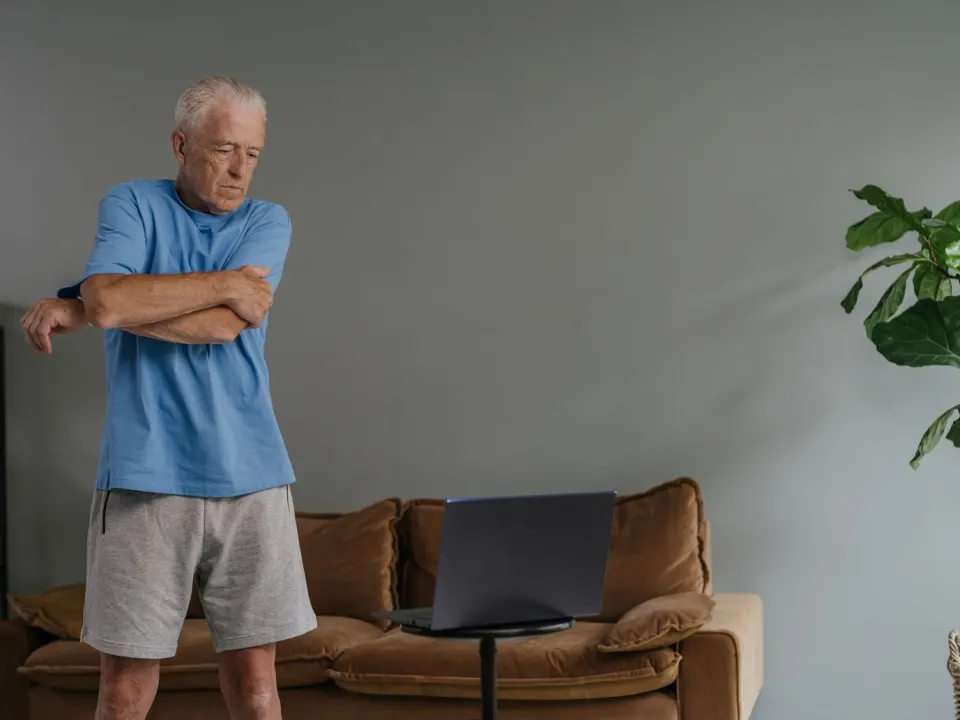
Warm up for four minutes. March on the spot. Circle the hips. Do six slow sit-to-stands from a dining chair. Rehearse one short wall slide. Then start the working holds.
Use a timer you can see. Stop the hold while the shape is still honest. Rest at least a minute. Walk the room. Shake the legs. Then repeat. ACSM treats regular muscle work as the useful habit. Home holds count when they are repeatable.
| Stage | Hold | Sets | Rest |
|---|---|---|---|
| First week | 20 seconds, or a higher sit if 20 feels rushed | 2 | 60 to 90 seconds |
| When 20 seconds is calm | 30 seconds | 2 to 3 | 60 to 90 seconds |
| Next step | 45 seconds | 3 | 90 seconds |
| Later | 60 seconds | 3 | 90 to 120 seconds |
| If 60 seconds is easy | Keep 45 to 60 seconds and slow the slide down and up | 3 | 90 seconds |
| Days each week | 2, not back to back | 2 | Same |
Sources: NHS physical activity guidelines for adults aged 19 to 64; CDC Adult Activity; ACSM physical activity guidelines. Times are this article's home plan, not a clinic protocol.
Write the hold time in a notebook. Progress means a cleaner 30 seconds, not a shaky 90. When three 45-second holds feel dull, add a slower three-count slide, not a jump. That matches progressive overload without extra weights.
Place the holds after the warm-up and before long walking. Tired thighs change the knee line. If you already follow a four-week beginner bodyweight plan, swap one squat set for this hold on two days.
Quiet rooms, common faults and the next step
This drill is kind to downstairs neighbours. There is no jump and no dropped weight. If the building is strict, keep the rest of the session in line with a quiet apartment workout with no jumping.
Heels that pop up shorten the thigh work and load the front of the knee. Knees that cave in are a cue to step the feet a little wider, or to sit higher. A low back that peels off the wall often means the sit is too deep. Slide up a few centimetres. Do not hold your breath for the whole timer.
Hands on the thighs turn the hold into a lean. Crossed arms are fine. A light book held at the chest is optional later. Do not add a heavy pack on week one.
If the wall is busy, a closed door that does not swing is a poor substitute. Use a true wall. Keep pets out of the foot space. Stop if you feel dizzy as you stand.
Who should skip or shorten the hold
Skip this version after recent knee, hip or ankle surgery until a clinician clears it. A sharp stab under the kneecap is not a “push through it” signal. Choose a higher sit, a chair sit-to-stand, or rest.
Stop for chest pain, faintness, unusual breathlessness, or pain that shoots down a leg. Call 999 in the UK or 911 in the US if those symptoms are sudden. A home timer is not an exam.
If getting down into a low squat is already hard, stay high on the wall. Time still counts. Ask a GP or physiotherapist (US: physical therapist) for a raised option if you live with a joint condition they already know about.
Wall-sit progression with timed targets
Use a clear wall, feet about hip-width, slide down until knees are roughly above ankles and thighs are as close to parallel as comfort allows. Progression example across weeks:
- Week 1: 4×20 seconds, 40 seconds rest.
- Week 2: 4×30 seconds, 40 seconds rest.
- Week 3: 3×40 seconds, 45 seconds rest.
- Week 4: 3×45–50 seconds, or add a 2-second pulse at the end of each hold.
If knees complain, sit higher (less knee bend) and accumulate time there before descending.
Form faults that shorten useful time
Knees caving inward, heels lifting, and sliding too low so the lower back peels off the wall all reduce quality. Press the whole back lightly into the wall, keep ribs quiet, and breathe. Shake is allowed; sharp joint pain is not.
Pairing wall sits with walking days
Place wall sits after an easy walk or at the end of a short strength session, not after heavy lunges on sore knees. Two focused wall-sit days per week are enough for most home trainees.
Session notes specific to wall sit progression
Before you repeat wall sit progression, decide the exact surface, footwear and support object you will use. Write the first set’s intended reps or seconds on paper. After the session, record only what changed: a deeper controlled squat, a quieter footfall, a longer wall-sit, or a press-up incline that felt more stable. Those notes beat vague intentions to ‘train harder’.
If a joint feels sharper during wall sit progression than muscularly tired, shrink range or choose the regression described earlier. Home training should leave you able to climb stairs and sleep that night. Seek GP or physiotherapy advice for pain that lingers, swells, or follows a fall.
Space hard versions of wall sit progression so similar patterns are not hammered on back-to-back days. A walk, easy mobility, or an upper-body focus can fill the gap while tissues adapt.
Practical checkpoints for wall sit progression
Rehearse the main drills for wall sit progression at the exact doses already listed. Change only one variable this week — range, tempo, or support — and write down the result the next morning.
Keep safety limits visible: sharp pain, dizziness, chest symptoms, or neurological changes mean stop and seek care. Modest consistency with wall sit progression beats sporadic intensity.
If your environment changed (new chair, different floor, travel), re-check setup before blaming the programme. Small environment fixes often restore comfortable technique faster than adding volume.
One more concrete week of practice
Schedule two appointments with yourself for the skills in this article. Session one copies the doses exactly. Session two adjusts a single cue that felt weakest — depth, quiet footfall, hold time, or screen height — and keeps everything else identical.
After those two sessions, keep what was sustainable. Discard any add-on that only worked once. That is enough experimentation for one week.
Frequently asked questions
How long should a first wall sit last?
Are wall sits enough for stronger legs?
Should my thighs be parallel to the floor?
Can I hold a weight in my lap?
Why do my thighs shake?
Sources
- 1. Physical activity guidelines for adults aged 19 to 64
- 2. Strength exercises
- 3. Adult Activity: An Overview
- 4. Physical activity fact sheet
- 5. Physical Activity Guidelines
Guidance changes. Figures were checked against the sources above at the time of review; always confirm current advice with your GP, pharmacist or clinician.
Image credits
- Photo: Photo by SHVETS production on Pexels / Openverse
Was this useful?
Anyone can react — no account needed.



Discussion
0 comments · Name and email only · Email is never shown