
A laptop riser keyboard pair is the smallest kit that solves a laptop’s core problem. The screen can sit high. The hands can stay low. One piece without the other still leaves a twist in the neck or the wrists.
HSE’s laptop advice is blunt. For long use, keep the keyboard and mouse separate from the laptop so the screen can sit on a riser. That is not a luxury setup. It is the minimum that lets shoulders stay quiet. A stack of books can start the job. A separate keyboard is the part you should not skip.
Why a laptop riser keyboard pair is the minimum kit
A laptop joins the screen to the keys. Put the keys at a kind height and the picture sits in your lap. Raise the picture and the keys rise with it. Shoulders then shrug. Wrists then bend. There is no clever pose that undoes that geometry.
HSE’s standard desk picture still applies. Top of the screen near the eyes. About an arm’s length away. Keys just below elbow height. Shoulders relaxed. The computer faces you. A bare laptop can hit one of those targets. It cannot hit both at once.
That is why the kit has two jobs. The riser lifts the picture. The external keyboard keeps the hands down. A mouse or a separate trackpad beside those keys completes the set. Without it, you reach for a low glass pad while the screen sits high.
Ten minutes of mail on the sofa is a different task. Risk and discomfort rise with time. Treat about an hour of focused typing as a cue to build the pair. Comfort may ask for it sooner. If you only buy a riser, you will type with high shoulders. If you only buy a keyboard, you will still look down. Buy the pair, or improvise both parts. That is the whole method. A second-hand keyboard and a stable book stack still count as the kit.
Set the chair, then the keys, then the riser
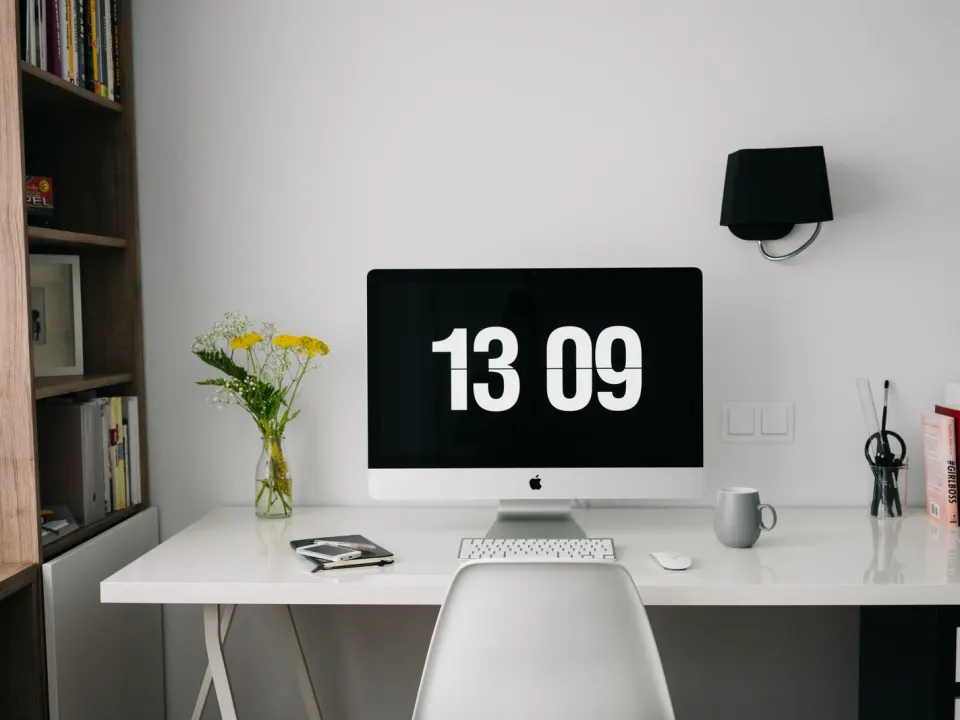
Sit as you actually work. Support both feet. Sit back. If the desk is high, raise the chair and add a firm footrest. Fold the external keyboard’s feet down if they tip your wrists up.
Place the separate keys close to the desk edge. Park the mouse beside them, in line with the elbow. You should not reach forward. You should not reach across the laptop’s body. More on that load sits in the keyboard and mouse strain guide.
Now raise the laptop. Lift until the top of the visible screen sits near eye level, or a little below. Your gaze should fall slightly down into the middle of the display. If you look up to the menu bar, the riser is too tall. If you still fold the neck, it is too short.
Keep the laptop’s own keys unused for long typing. They are now a brick under the screen. That is the point. The external keys do the work.
| Part | Starting point | Fail sign |
|---|---|---|
| Chair and feet | Feet supported; back against the chair | You perch on the lip of the seat to reach the keys |
| External keyboard | Just below elbow height, close to your body | Shoulders shrug, or wrists bend up onto folded feet |
| Pointer | Immediately beside the keys | You reach past the laptop for every click |
| Riser height | Top of screen near eye level, slight downward gaze | Chin tips up, or you still look sharply down |
| Distance | About an arm’s length; enlarge text rather than lean | Chest drifts toward a small, low picture |
Finish with the wider desk ergonomics checklist if the desk itself is too high or too low. A riser cannot rescue shrugged shoulders caused by a tall table.
What to buy, and what you can skip
The essential spend is a full-size or compact external keyboard you will actually use. Wired models skip charging. A mouse or a separate trackpad comes next. The riser can be a purpose-made stand or a wide, level stack of large books.
If you buy a stand, look for a wide base, a lip or grip so the laptop cannot slide, and open sides so heat can leave. Do not block the vents. Do not rest a hot laptop on a cushion. Leave cable slack so a tug cannot pull the machine off the edge.
An external monitor is optional. It helps when you need more space. It still needs separate keys at elbow height. A mechanical keyboard is taste, not prevention. A branded aluminium riser is convenience. Height and stability matter more than the logo.
A headset is worth it if calls make you trap a phone on your shoulder. That is a separate neck problem. Fix the screen and keys first.
Standing, travel and days without the kit
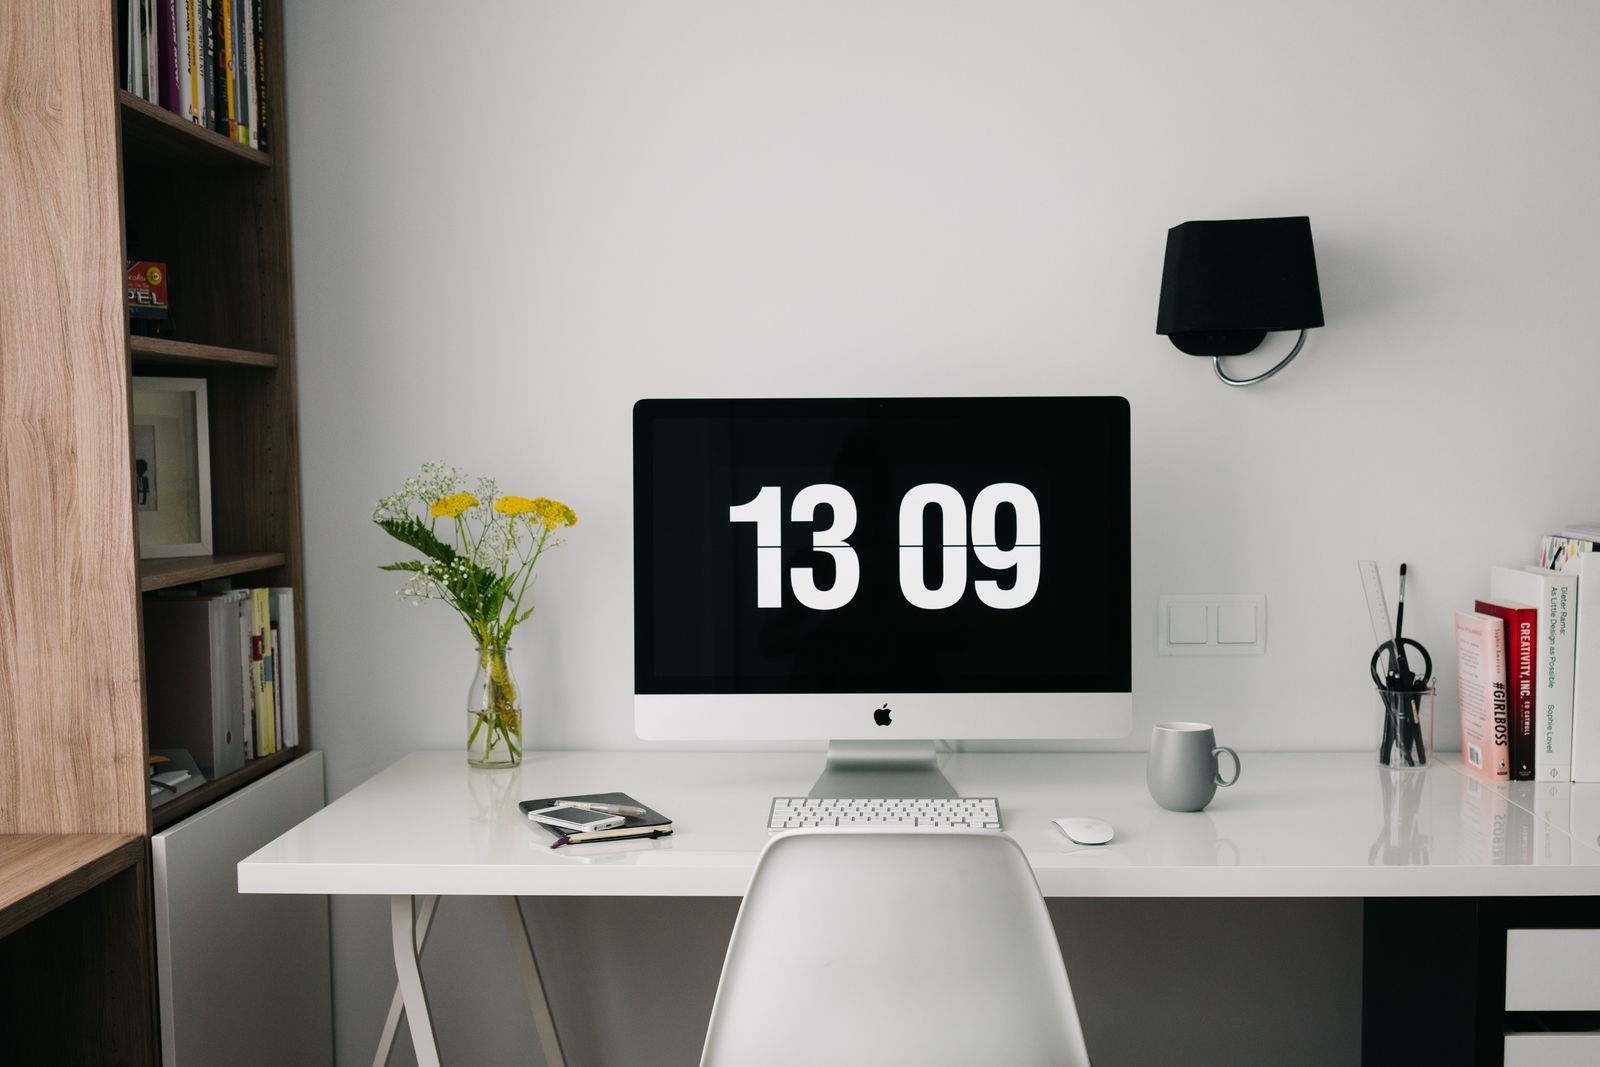
If you stand to type, repeat the same order. Keys at elbow height. Screen near the eyes. A laptop on a high kitchen counter often raises both at once. That can be a short change. It is a poor all-day station. Keep a chair in reach.
For hybrid days, pack the small pair: folding riser, compact keyboard, mouse, one cable pouch. Leave a duplicate at the desk you use most if carrying kit is why you stop. In a shared office, spend two minutes on chair height before you open mail.
When no accessories are around, shorten the block. Alternate a low position that favours the hands with a higher position used for reading or a call. Do not type for hours with the laptop on your lap. The screen is low. The wrists are crowded. Heat can build.
Build movement into the same day. HSE still wants a change of activity, not one long freeze. Pair the kit with short desk stretches and with movement snacks during the work day.
Hands, eyes and when to get help
Light hands on the external keys. Do not plant the wrists and then reach. Look away from the screen on a regular cadence. Enlarge the text so you can sit back. Glare that makes you lean is a lighting problem, not a riser problem.
NHS pages use “repetitive strain injury” as a popular term for mixed arm and hand pain. A better kit can reduce one awkward angle. It cannot promise an end to symptoms. Night numbness, weak grip, or pain that lasts needs a GP or physiotherapist in the UK, or a primary care clinician or physical therapist in the US.
Stop and seek urgent care for sudden severe swelling, loss of colour, or weakness after trauma. Call 999 or 911 if you think it could be an emergency. At work, ask for a display-screen assessment. A riser and keyboard might be the outcome. So might a different desk.
Minimum home-office kit that changes angles
A riser (or stable stand), external keyboard, and mouse address the worst laptop posture for many people. Add a simple chair cushion for lumbar shape if needed before spending on premium chairs.
Cable and height details
Set keyboard so elbows rest near ~90 degrees. Raise the screen so you are not looking down hard. Keep the mouse within a forearm’s reach to avoid rounding one shoulder forward all day.
Travel version
A foldable Bluetooth keyboard and a firm folder as a temporary riser can rescue hotel desks. Still stand up each half hour.
Workday application notes for laptop riser keyboard
Tie laptop riser keyboard to a visible cue you already have: a kettle boil, the end of a recurring meeting, or plugging in a laptop at the start of deep work. Keep a one-line prompt on a sticky note near the screen with the first move and hold time so you do not renegotiate the routine mid-afternoon.
If symptoms during laptop riser keyboard include numbness, progressive weakness, chest pain, or pain that wakes you at night, stop self-managing and speak with a clinician or occupational-health service. Comfort drills support ordinary stiffness; they do not replace assessment.
Revisit your desk height, screen position and break timing whenever you change chairs, monitors or work locations. A routine built for one setup can feel oddly hard in another — adjust the environment before you assume you need more aggressive stretching.
Practical checkpoints for laptop riser keyboard
Rehearse the main drills for laptop riser keyboard at the exact doses already listed. Change only one variable this week — range, tempo, or support — and write down the result the next morning.
Keep safety limits visible: sharp pain, dizziness, chest symptoms, or neurological changes mean stop and seek care. Modest consistency with laptop riser keyboard beats sporadic intensity.
If your environment changed (new chair, different floor, travel), re-check setup before blaming the programme. Small environment fixes often restore comfortable technique faster than adding volume.
Frequently asked questions
Can I raise the laptop and still type on its own keys?
How high should the riser be?
Is a stack of books safe as a riser?
Do I need an expensive keyboard?
Will this kit cure neck or wrist pain?
Sources
- 1. Good posture when using display screen equipment
- 2. Working safely with display screen equipment
- 3. Home working: display screen equipment
- 4. Repetitive strain injury (RSI)
- 5. Ergonomics and musculoskeletal disorders
Guidance changes. Figures were checked against the sources above at the time of review; always confirm current advice with your GP, pharmacist or clinician.
Image credits
- Photo: Photo by Ketut Subiyanto on Pexels / Openverse
- Photo: Photo by Christina Morillo on Pexels / Openverse
- Photo: Photo by Pixabay on Pexels / Openverse
Was this useful?
Anyone can react — no account needed.



Discussion
0 comments · Name and email only · Email is never shown