
Keyboard and mouse placement should keep your elbows near your sides and your wrists fairly straight. Gadgets cannot replace pauses, and they do not treat an injury.
A desk can look tidy and still force a long reach. The mouse sits beyond a notebook. The keyboard sits so far forward that you type with shrugged shoulders. A practical map puts the tools you use most inside a small arc. Your upper arms stay close. Your hands do not hover over a hard edge all day.
Map keyboard and mouse placement before you buy gadgets
HSE's display-screen advice is blunt. Keep the keyboard just below elbow height. Keep the mouse in line with the elbow. Sit close to the desk so you are not working with a stretched arm. US pages from NIOSH and MedlinePlus describe the same fit: tools close, wrists not bent up or sideways, shoulders down.
That is a placement problem first. A vertical mouse, a split keyboard, or a gel pad cannot rescue a device that sits a foot too far away. Draw a semicircle with your elbow at your side. Frequent keys, the mouse, and a notebook should live inside that arc. Phones, water bottles, and spare chargers can sit farther out.
The NHS describes repetitive strain injury as pain in muscles, nerves and tendons caused by repetitive movement and overuse. Desk work is one setting, not the only one. Placement reduces awkward load. It does not grant a free pass to type without a pause. If pain, tingling, or weakness continues, you need a person, not another accessory.
Start with the chair height so your forearms can sit nearly level. Then bring the keyboard in. Then park the mouse. Lighting and screen height come after that. If you reverse the order, you will keep reaching up to a high desk or out to a distant pointer.
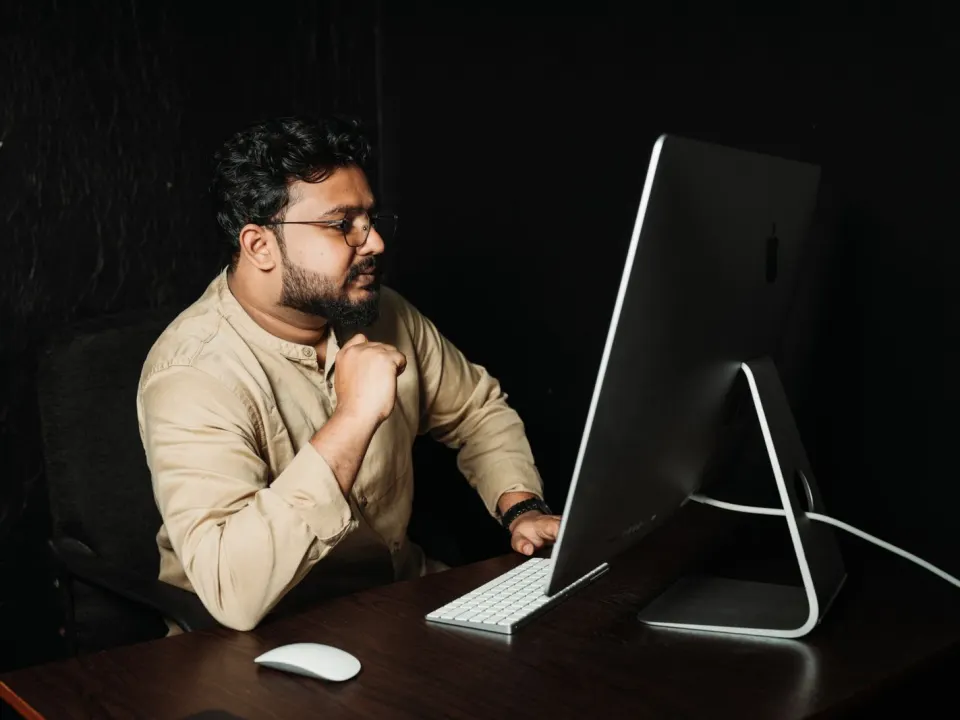
Keyboard and mouse placement for a seated desk
Centre the letter keys on your body, not the whole keyboard. Number pads push the mouse out to the right. If you rarely use the pad, a compact keyboard can bring the pointer closer. Keep the keyboard feet folded down if raising the back bends your wrists upward.
HSE suggests leaving space in front of the keys. Use that space to rest your hands between bursts of typing. Do not pin your wrists to the desk while you strike keys. A light touch is enough. You do not need to bottom out every key.
Place the mouse on the same surface, immediately beside the keyboard. Increase pointer speed if you make large sweeping motions. Support the forearm on the desk or on a chair arm that actually fits under the worktop. Do not grip the mouse as if it might escape. Rest the fingers lightly on the buttons.
If you are left-handed, try the mouse on the left for a week. Many people never test it. The goal is a short, easy path, not a tradition. Switch sides during the day if one shoulder fatigues, as long as you can still work accurately.
| Item | Where it should live | Quick test |
|---|---|---|
| Keyboard | Just below elbow height, close to your torso | Shoulders stay down while you type |
| Space in front of keys | Room to rest hands between typing bursts | Wrists are not pressed into a hard edge during keying |
| Mouse or trackball | Beside the keyboard, in line with the elbow | You can click without reaching across the desk |
| Number pad | Used only if you need it; otherwise consider a compact board | The pointer is not pushed off the edge of the desk |
| Laptop | Raised screen plus external keys and pointer for long work | You are not typing on a low keyboard while hunched |
Wrist rests are optional. They can cushion the desk edge while you pause. They are not a platform for typing. If a rest lifts your wrists into a bend, remove it. Our wider desk ergonomics checklist covers chair and screen order so the input devices are not doing all the work.
Standing, laptops and shared desks
When you raise a sit-stand desk, the same map still applies. The keys should meet your hands with relaxed shoulders. The mouse should not sit on a lower shelf. Repeat the elbow check every time the surface moves. The standing desk transition plan is the place to build upright time slowly.
On a laptop, the trackpad sits in front of a low screen. That combination invites a reach and a tucked chin. For sessions longer than a quick reply, add an external keyboard and mouse. Raise the laptop so the screen is in a kinder place. You can still use the trackpad as a backup. It should not be the main pointer for a full day.
Hot-desking needs a 60-second reset. Pull the keyboard toward you. Slide the mouse in. Hide unused devices in a drawer if they steal space. If the desk is too high and cannot move, raise the chair and support your feet. Dangling feet and shrugged shoulders will undo careful placement.
A document holder belongs beside the screen, not between you and the keys. Papers in that gap push the keyboard forward. You then type at full reach. Keep drinks on the far side of the mouse so a spill is less likely to hit electronics, and so you do not stretch around a bottle for every click.
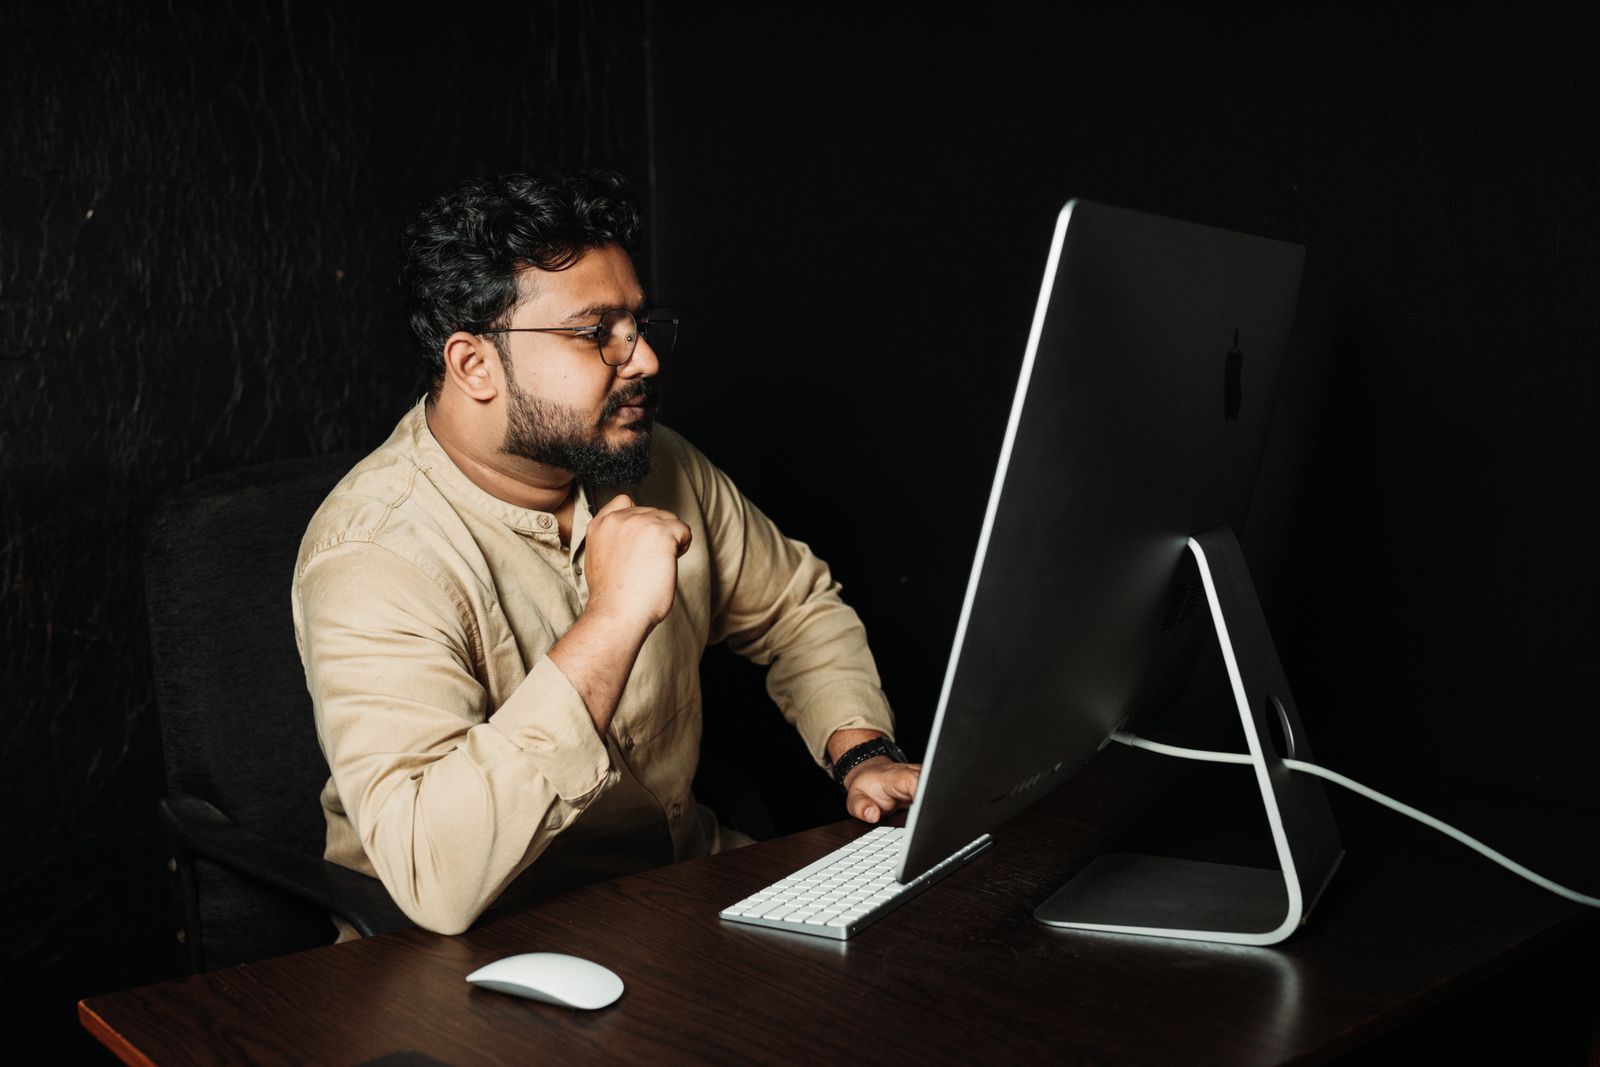
Technique, shortcuts and load
Placement is only half the story. HSE also talks about a soft touch and not overstretching the fingers. Use keyboard shortcuts for copy, paste, and window switching if they cut down on long mouse travels. Increase pointer speed so a small move covers the screen.
Alternate tasks. After a long stretch of pointing, switch to reading or a phone call. After heavy typing, stand up and walk. The NHS advice on repetitive strain is to rest the affected area and avoid activities that make symptoms worse while you seek care. That is clinical caution, not a demand to freeze your whole day.
If one hand is sore, try moving some tasks to the other hand, or to the keyboard. Do not tape ice to a wrist and keep the same eight-hour click pattern. Change the work as well as the kit. Pair this with movement snacks in the work day so blood flow and joint motion get a turn.
Clean the mouse and the desk surface if the pointer stutters. A sticky mouse makes you grip harder. A mouse mat is useful on a glossy desk. It is not magic. Replace a failing battery before you start tensing your forearm to keep the cursor still.
When placement is not enough
Numbness, night pain, swelling, or a weaker grip needs a clinician, not a new mouse. In the UK, start with a GP or a pharmacist for mild, short-lived symptoms, and with urgent care if weakness or injury is sudden. In the US, use primary care, urgent care, or emergency services according to severity. Occupational health can review a workstation when symptoms keep returning at work.
People with arthritis, a recent fracture, pregnancy-related swelling, or a diagnosed nerve problem need individual advice. A split keyboard or a different pointer might help some hands. It can aggravate others. Trial equipment if your employer or clinic offers it. Do not buy a stack of devices in one weekend.
Eye strain still matters. Looking at a screen for long blocks dries the eyes and invites a poke-neck posture as you peer at text. Combine better placement with regular screen breaks. Look into the distance. Blink. Then return to a keyboard that is still close.
Placement checklist with elbow angles
Keep the keyboard near the desk edge so elbows rest roughly near 90 degrees by your sides. Mouse immediately beside the keyboard at the same height. Avoid reaching forward to a distant mouse island that rounds one shoulder for hours.
Laptop docks and trays
If you use a dock, place input devices where your shoulders stay quiet, not where the cable tangle dictates. A simple tray or clear desk zone beats stretching across a monitor base.
Symptom-linked adjustments
Ulnar numbness, grip fatigue or shoulder burn on one side often improve when the mouse moves closer and higher asymmetries shrink. Trial changes for three days and note symptoms. Persistent neurological signs need clinical advice.
Making keyboard and mouse placement survive a busy week
Attach keyboard and mouse placement to existing breakpoints and recheck setup whenever you change chairs or rooms. Keep a minimum version for meeting-heavy days.
Persistent numbness, night pain or weakness needs clinical or occupational-health input rather than endless self-tweaks.
Revisit the key steps for Keyboard and Mouse Placement: A Practical Desk Map twice this week at the doses above, changing only one setup cue between attempts.
Frequently asked questions
Should my wrists hover or rest while I type?
Is a vertical mouse better?
Where should the keyboard sit on a standing desk?
Can keyboard and mouse placement prevent RSI?
What if my desk is too small for both devices?
Sources
- 1. Good posture when using display screen equipment
- 2. Working safely with display screen equipment
- 3. Ergonomics and musculoskeletal disorders
- 4. Ergonomics
- 5. Repetitive strain injury (RSI)
Guidance changes. Figures were checked against the sources above at the time of review; always confirm current advice with your GP, pharmacist or clinician.
Image credits
- Photo: Photo by Ketut Subiyanto on Pexels / Openverse
- Photo: Photo by JESHOOTS.com on Pexels / Openverse
Was this useful?
Anyone can react — no account needed.



Discussion
0 comments · Name and email only · Email is never shown