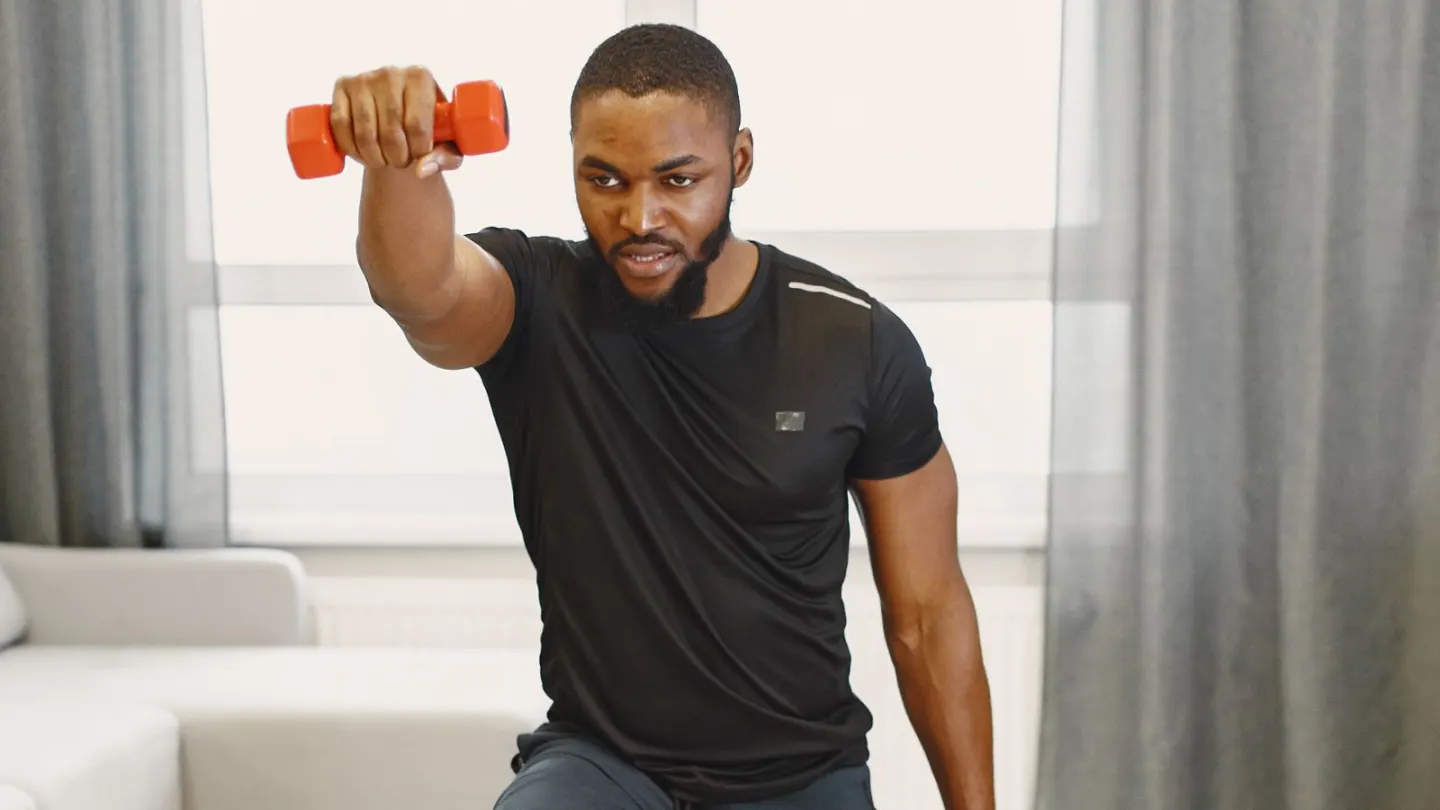
Reverse lunges at home train the legs without a jump or a gym bench. You step back, lower with control, then return to standing. A chair beside you can keep the knee line calmer.
A reverse lunge is a split-stance strength move. The front foot stays put. The back foot finds a short step behind you. That pattern loads the thighs and hips. It also asks the front knee to track over the mid-foot. NHS and CDC adult guides still want muscle work on at least two days a week. This is one of those days, not a race.
Why reverse lunges at home are a useful strength dose
Forward lunges send you into space you cannot see. Reverse lunges keep the front foot as the anchor. Many people find the back step easier to aim. The front knee then has a clearer job: stay stacked over the foot you can still see.
That does not make the move harmless. A long stride can yank the hip. A short, shaky stride can dump the knee inward. The useful range is the one you can pause in. If you cannot pause, the step is too deep or too far.
UK and US activity guides treat this as strength, not as a calorie trick. The NHS asks adults aged 19 to 64 to work major muscle groups on two or more days a week. The CDC uses the same two-day strength floor, plus at least 150 minutes of moderate aerobic activity. WHO uses that 150-minute aerobic floor as well. Pair the lunge with a push, a row, and a walk so the week is not all legs.
If you are restarting after a long gap, the beginner home plan for adults over 50 shows easier stands and chair support first.
How to set up a reverse lunge with a safer knee line
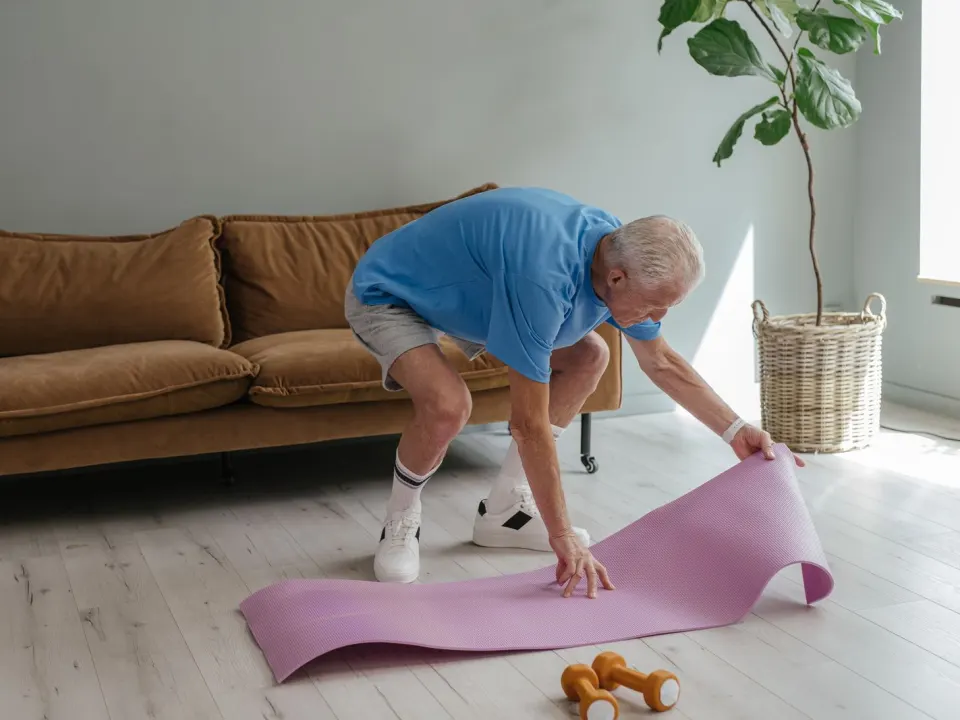
Clear a strip of floor as long as one large step. Move cables, toys, and the coffee table. Wear shoes with a grippy sole if the floor is shiny. Socks on wood make the back foot slide.
Stand tall with the feet under the hips. Lightly brace the midriff. Hold a chair back with one hand if you need it. Shift your weight onto the front foot. Step the other foot straight back. Land on the ball of that back foot. Lower until the back knee points toward the floor. Keep the front heel down. Then push through the front foot to stand.
Watch the front knee. It should travel in line with the second toe, not dive toward the other knee. A little forward travel is normal. A big drift that lifts the front heel is not. Shorten the step. Reduce the depth. Keep the chest tall rather than folding over the front thigh.
Match both sides. If one side wobbles, that side goes first next time, while you are fresh. Do not add a jump. Do not add a twist. The job is a tidy back step.
A simple reverse lunge session you can repeat
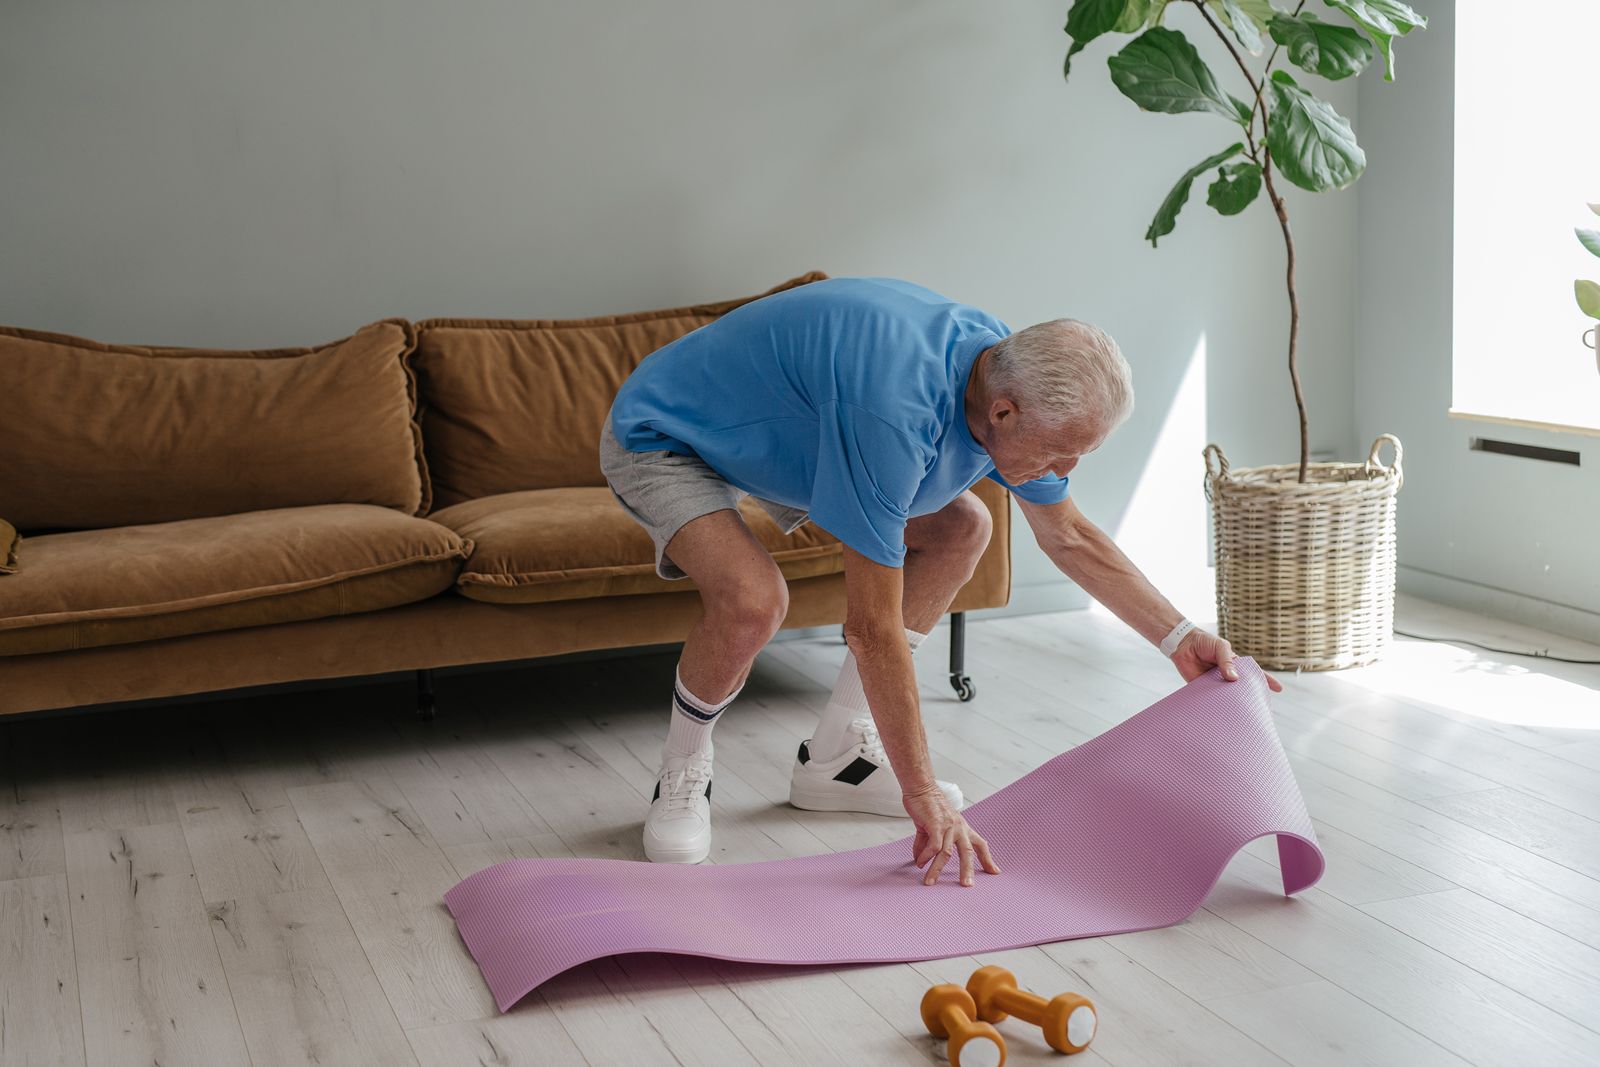
Warm up for four minutes. March on the spot. Circle the hips. Do six easy sit-to-stands from a chair. Rehearse two reverse lunges with a hand on the chair and almost no depth. Then start the working sets.
Choose a depth you could pause for two seconds. If the last reps need a wriggle or a hop, you went too far. ACSM treats regular resistance work as the health step. Home bodyweight still counts.
| Item | Beginner with a chair | Once the step is steady |
|---|---|---|
| Sets each side | 2 | 3 |
| Reps per set | 6 to 8 | 8 to 10 |
| Tempo | Lower for 3 seconds | Lower for 3 seconds, pause 1 |
| Rest between sets | 90 seconds | 60 to 90 seconds |
| Days each week | 2, not back to back | 2, still not back to back |
| If it feels easy | Add 2 slow reps | Hold light shopping bags |
| If it feels shaky | Shorten the step | Keep the chair and drop a set |
Place reverse lunges at home near the start of a lower-body block. Follow with a hinge or a calf raise, then an upper-body push. A no-equipment full-body session can fill those other slots. A resistance-band full-body workout can add a row if you own a band.
Write the reps and the depth in a notebook. Progress means more control, not a longer lunge. When 10 slow reps feel boring, add a one-second pause. Change one thing at a time.
Quiet floors, common faults and kinder options
The reverse lunge stays apartment-friendly if you never drop the back knee. Lower it. Hover. Stand. If the building is strict, pair this with the quiet no-jumping circuit instead of adding hops later.
Rushing the return turns the move into a stumble. Letting the front knee cave inward loads the joint in a messy way. Twisting the chest toward the front thigh is another common leak. So is a back foot that lands on a rug edge and slides.
If the front knee niggles, reduce depth and hold the chair. If the back hip pinches, shorten the stride. Split squats with both feet staying put can be a calmer cousin. Do not push through sharp pain to “earn” this version.
A four-week ladder helps more than a heroic first day. Our beginner bodyweight plan uses the same idea: small, repeatable doses.
Who should skip or adapt the reverse lunge
Getting the back knee toward the floor is not required. If balance is poor after illness, surgery, or dizziness, stay with sit-to-stands and ask a GP or physiotherapist (US: physical therapist) for a raised option. A wheeled office chair is a poor prop. It can roll.
Stop for chest pain, faintness, unusual breathlessness, or pain that shoots down a leg. Call 999 in the UK or 911 in the US if those symptoms are sudden. Online cues cannot replace an exam.
If you have a recent knee, hip or ankle injury, wait for personal advice. A reverse lunge is not a treatment. Some people still find even a shallow step sore. Choose a pain-free stand, or rest the pattern.
Reverse-lunge standards for home floors
Step back softly, lower until the rear knee points toward the floor without slamming, front shin fairly vertical, then drive through the front foot to stand. Start with 3×6–8 per leg, holding a wall or chair lightly. Soft landings matter more than depth in week one.
Knee-line and balance cues
Keep the front knee tracking over the second toe rather than collapsing inward. Shorten the step if you wobble. Look at a fixed point on the wall. If the front heel lifts, take a slightly shorter stance and sit the hips down rather than forward.
Progress without jumping switches
Remove hand support, then add a one-second pause in the bottom position, then hold light bags. Jumping switch lunges are optional much later and often unnecessary for general fitness.
Session notes specific to reverse lunges at home
Before you repeat reverse lunges at home, decide the exact surface, footwear and support object you will use. Write the first set’s intended reps or seconds on paper. After the session, record only what changed: a deeper controlled squat, a quieter footfall, a longer wall-sit, or a press-up incline that felt more stable. Those notes beat vague intentions to ‘train harder’.
If a joint feels sharper during reverse lunges at home than muscularly tired, shrink range or choose the regression described earlier. Home training should leave you able to climb stairs and sleep that night. Seek GP or physiotherapy advice for pain that lingers, swells, or follows a fall.
Space hard versions of reverse lunges at home so similar patterns are not hammered on back-to-back days. A walk, easy mobility, or an upper-body focus can fill the gap while tissues adapt.
Practical checkpoints for reverse lunges at home
Rehearse the main drills for reverse lunges at home at the exact doses already listed. Change only one variable this week — range, tempo, or support — and write down the result the next morning.
Keep safety limits visible: sharp pain, dizziness, chest symptoms, or neurological changes mean stop and seek care. Modest consistency with reverse lunges at home beats sporadic intensity.
If your environment changed (new chair, different floor, travel), re-check setup before blaming the programme. Small environment fixes often restore comfortable technique faster than adding volume.
One more concrete week of practice
Schedule two appointments with yourself for the skills in this article. Session one copies the doses exactly. Session two adjusts a single cue that felt weakest — depth, quiet footfall, hold time, or screen height — and keeps everything else identical.
After those two sessions, keep what was sustainable. Discard any add-on that only worked once. That is enough experimentation for one week.
Frequently asked questions
Are reverse lunges easier on the knees than forward lunges?
How deep should I go?
Do I need weights?
How often should I do reverse lunges?
What if my back knee hurts on the way down?
Sources
- 1. Physical activity guidelines for adults aged 19 to 64
- 2. Strength exercises
- 3. Adult Activity: An Overview
- 4. Physical activity fact sheet
- 5. Physical Activity Guidelines
Guidance changes. Figures were checked against the sources above at the time of review; always confirm current advice with your GP, pharmacist or clinician.
Image credits
- Photo: Photo by Gustavo Fring on Pexels / Openverse
- Photo: Photo by SHVETS production on Pexels / Openverse
Was this useful?
Anyone can react — no account needed.
Discussion
0 comments · Name and email only · Email is never shown