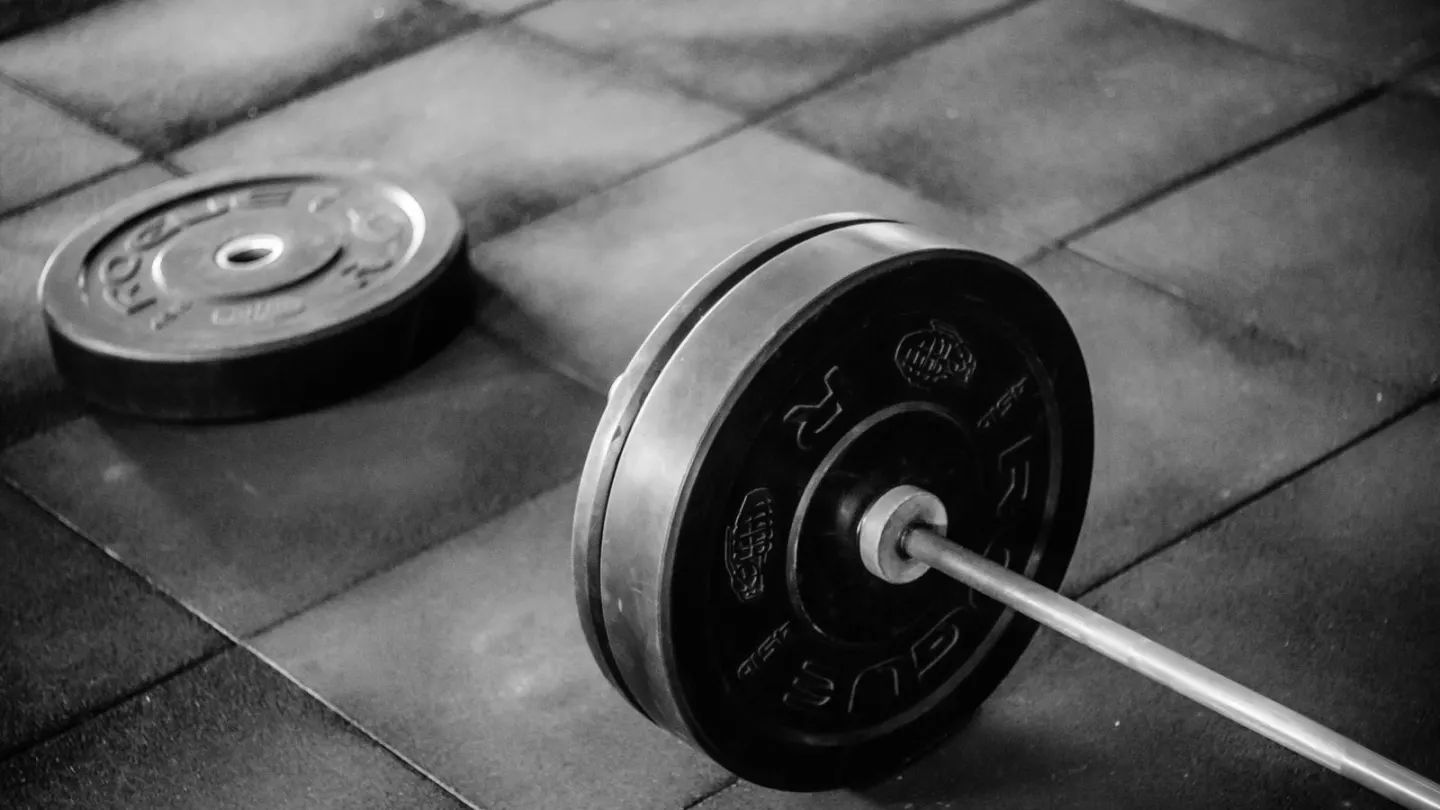
A trap bar deadlift is a pull from the floor with a hexagonal bar around your feet. You hold handles at your sides and stand up. The load sits closer to your middle than a straight bar in front of the shins.
Gyms also call it a hex bar. High handles shorten the range. Low handles make it more like a conventional deadlift. Both are legal. The useful version is the one you can brace and repeat without a yank.
NHS and CDC adult guides still want muscle-strengthening work on at least two days a week. A trap bar deadlift can be the hinge for that week. It is not a test of how much iron you can bounce off the floor.
What a trap bar deadlift actually is
A straight-bar deadlift parks the load in front of you. A trap bar deadlift parks you inside the load. That change often lets the torso stay a little more upright. It can feel more like a mix of squat and hinge. That mix is why coaches give it to beginners who struggle to keep a bar close to the shins.
It still is a hip hinge. The knees bend. The hips go back. The back does not round on purpose. If the set looks like a jump shrug, the load is too heavy.
UK and US activity guides do not pick a bar shape. They ask for major muscle groups twice a week, plus at least 150 minutes of moderate aerobic work. WHO uses that same 150-minute aerobic floor. Pair this pull with a squat or lunge, a press, and a walk. Our hybrid strength and cardio weekly plan shows one way to split the week.
If you are over 50 or returning after a long gap, the strength training over 50 guide is a calmer frame. Use high handles. Cut the load. Film a side view before you add plates.
How to set up a trap bar deadlift
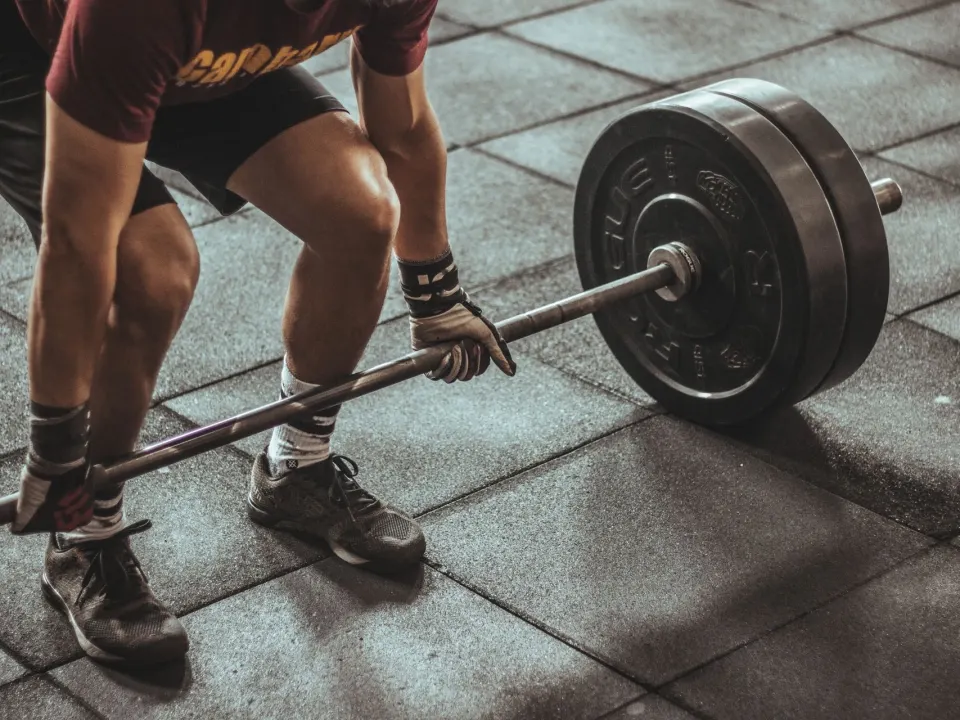
Load the bar evenly. Step into the hex. Place the feet about hip width, midfoot under the handles. If the handles have two heights, start high. Toes can turn out a little.
Hinge at the hips. Reach down and grip both handles at the same time. Squeeze them as if you could leave fingerprints. Keep the chest proud enough to set your back, not so high that the hips drop into a squat. Eyes look a few metres ahead, not at the ceiling.
Inhale and brace the midriff. Push the floor away. The hips and shoulders should rise together. Stand until the hips are open and you are tall. Pause. Then hinge to lower the plates with control. Do not drop the bar on a busy gym floor unless the house rules allow it.
The handles should travel in a straight, short path beside the legs. If you feel the weight pull you onto your toes, sit the hips back a touch and keep the whole foot on the floor.
A simple trap bar deadlift session
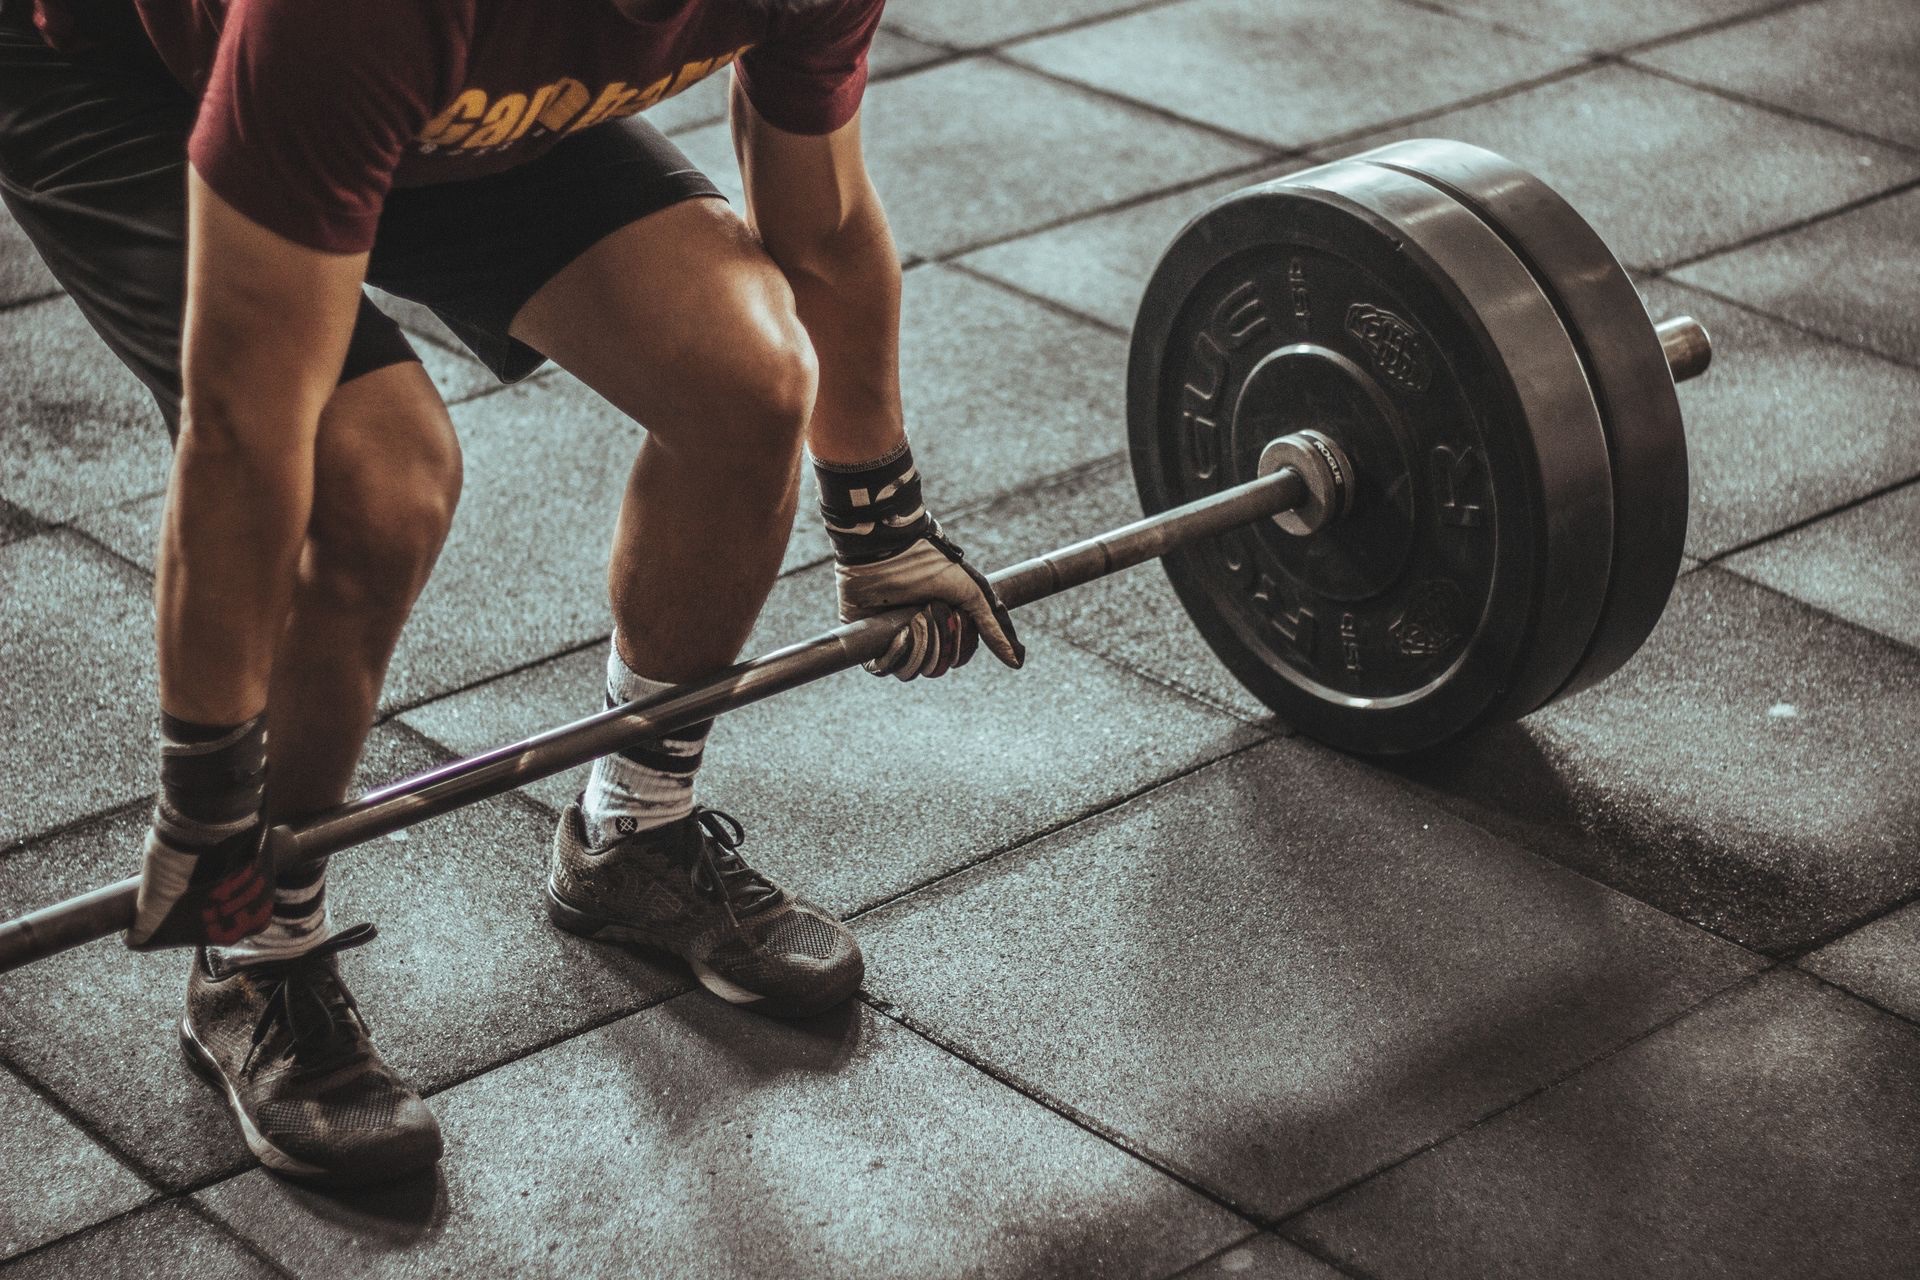
Warm up for six minutes. Walk, hinge with no load, and do a few empty handle grips. Then take a light trap bar deadlift for three slow reps. Add a little plate only if that set stayed quiet.
ACSM treats regular resistance work as the health step. Heavy singles are not required. Leave two or more reps in reserve. Our RPE and RIR guide explains that buffer. Rest two to three minutes between hard sets. A hinge is not a rush.
| Item | First weeks, high handles | Once the pull is smooth |
|---|---|---|
| Load | A bar you can brace and stand without a yank | A bar you can still control for 3 to 5 tidy reps |
| Sets | 2 to 3 | 3 to 4 |
| Reps per set | 4 to 6 | 3 to 6 |
| Rest between sets | 2 minutes | 2 to 3 minutes |
| Days each week | 1 to 2, not back to back | 2, still not back to back |
| If it feels light | Add 2.5 to 5 kg (5 to 11 lb) next time | Add a little load or one slow extra rep |
| If it feels heavy | Stop the set. Strip a plate | Return to high handles or fewer reps |
Place the trap bar deadlift early in the session, after the warm-up. A beginner gym workout plan can fill the rest with a squat pattern, a press and a row. Do not stack it with another heavy hinge on the same day while you are learning.
Note the handle height, the plates, and the reps. Progress means the same setup with a little more load, or the same load with cleaner reps. It does not mean a sloppy personal record on tired hamstrings. A trap bar deadlift block can be three hard sets and then you move on. Save energy for a walk later in the week. The hinge is one piece of the plan, not the whole gym visit.
Common faults and kinder swaps
Hips that shoot up before the plates move mean you started too low or failed to brace. Reset. Think “push the floor,” not “jerk the handles.”
A rounded low back under load is a stop sign, not a style. Strip plates. Raise the handles. A rack pull or a Romanian deadlift with a light straight bar can be a temporary swap if the floor range is too long.
Shrugging at lockout does not finish the lift. Standing tall does. Leaning back loads the spine in a messy way. Stop when you are upright.
Uneven handles often mean one hand let go early or the plates were loaded unevenly. Count the collars. Grip both sides at once.
Who should skip or adapt the trap bar deadlift
If you have been told to avoid lifting from the floor after surgery, wait for personal advice. The same applies if you have unexplained back pain, a hernia being assessed, or dizziness that makes a loaded hinge unsafe. A higher handle, or a hip hinge with no bar, is a fair substitute.
Stop for chest pain, faintness, unusual breathlessness, or pain that shoots down a leg. Call 999 in the UK or 911 in the US if those symptoms are sudden. Online cues cannot replace an exam.
A trap bar deadlift is not a treatment for back pain. Choose a range you can repeat without sharp pain. A coach or physiotherapist (US: physical therapist) can watch you if the pattern still feels unsafe.
A trap-bar session with high-handle and low-handle notes
Step into the centre, take high handles if you are learning, mid-foot under hips, brace, and push the floor away to stand tall. Example: trap-bar deadlift 4×4–6 at RPE 7–8, three minutes rest; then lunges 2×8/leg; then a back-friendly row 3×10.
High handles shorten range and often feel friendlier for beginners. Low handles increase range and demand more mobility — only drop handles when positions stay solid.
Put the bar down with control. Dropping from lockout every rep is noisy and sometimes against gym rules; it also skips practice of the eccentric.
| Week | Sets × reps | Handle |
|---|---|---|
| 1–2 | 3 × 5 | High |
| 3–4 | 4 × 5 | High |
| 5–6 | 4 × 4 | Low if positions OK |
| 7 | Easier volume | High |
Form faults and fixes
Starting with hips too high turns it into a stiff pull — sit the hips slightly and keep the chest proud.
Yank with rounded shoulders: take the slack out first, then push.
Overleaning back at lockout: stand tall, squeeze glutes, stop the drama.
Trap-bar pulls for athletes who also run or field-sport
Place heavy trap-bar days away from match days. Use higher handles in-season to manage fatigue.
Keep one session speed-oriented with lighter loads and crisp sets of three, and one session strength-oriented.
If sprint quality drops after pulling hard, move the pull earlier in the week or reduce volume.
Who should modify trap-bar pulls
Lifters without a trap bar can use dumbbell suitcase deadlifts or hex-dumbbell step-overs as cousins, not clones.
Low-back pain that worsens with pulls needs regression and clinical input if persistent.
Beginners should own high-handle triples before chasing low-handle PRs.
Coaching cues and checkpoints for trap-bar deadlift technique
Return to the key prescriptions for trap-bar deadlift technique already set out above and execute them as written for two consecutive sessions before you invent variations.
Use the checkpoints below as a quick pre-set scan for trap-bar deadlift technique. If any line fails, fix that line before you add load, speed or volume.
- 1–2: 3 × 5 — High
- 3–4: 4 × 5 — High
- 5–6: 4 × 4 — Low if positions OK
- 7: Easier volume — High
After those two honest sessions, change only one variable in trap-bar deadlift technique: a small load jump, one extra repeat, a slightly longer interval, or one fewer accessory set. Write the change in the log before you warm up.
Stop for sharp pain, chest pain, faintness or unusual breathlessness. Call 999 or 911 for sudden severe symptoms. This article is general information, not a diagnosis or a personalised rehab plan.
Frequently asked questions
Is a trap bar deadlift easier than a straight-bar deadlift?
Should I use high handles or low handles?
How often should I do a trap bar deadlift?
Can I wear a belt?
What if my gym has no hex bar?
Sources
- 1. Physical activity guidelines for adults aged 19 to 64
- 2. Strength exercises
- 3. Adult Activity: An Overview
- 4. Physical activity fact sheet
- 5. Physical Activity Guidelines
- 6. Why you should do strength training
Guidance changes. Figures were checked against the sources above at the time of review; always confirm current advice with your GP, pharmacist or clinician.
Image credits
- Photo: Photo by Victor Freitas on Pexels / Openverse
Was this useful?
Anyone can react — no account needed.



Discussion
0 comments · Name and email only · Email is never shown