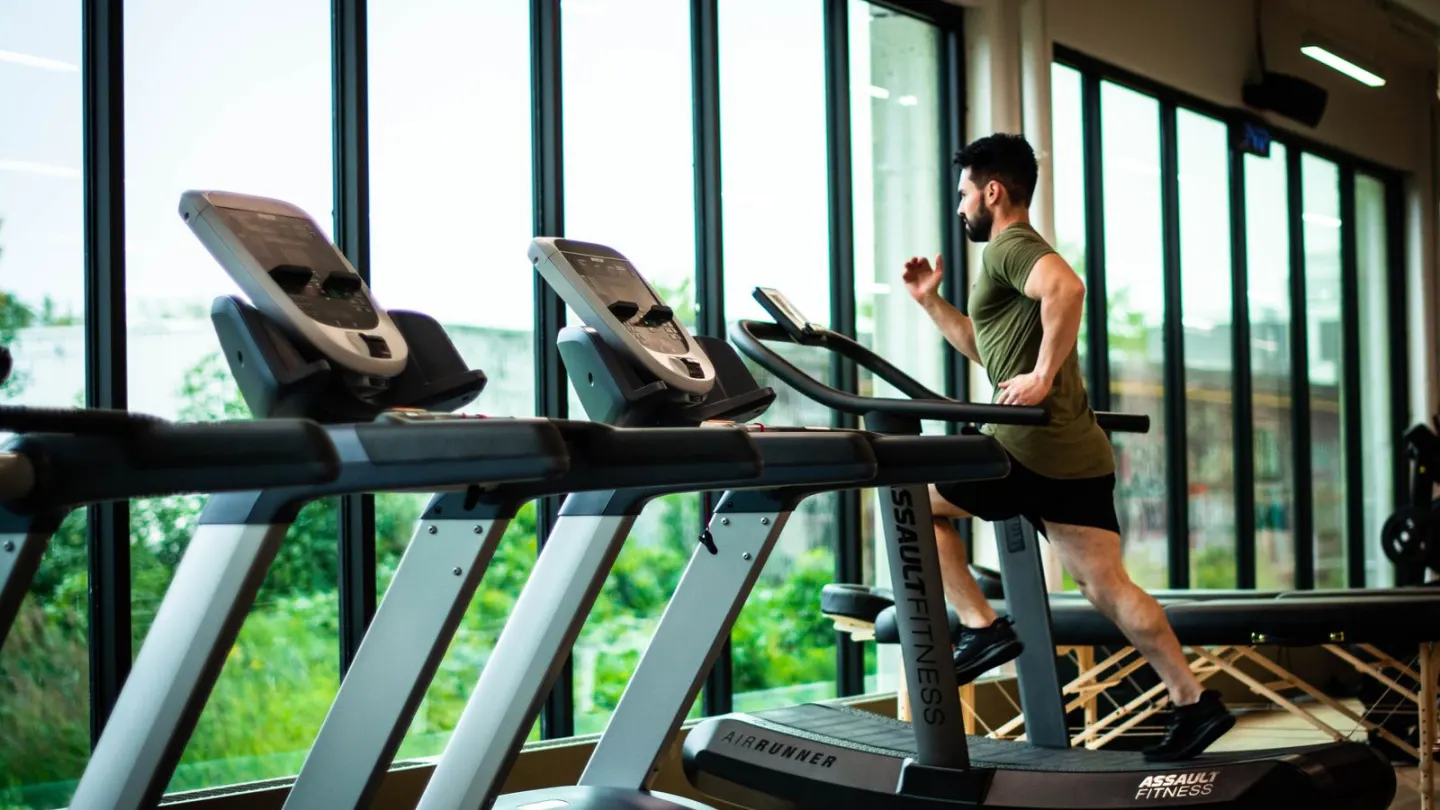
A sled push is a drive of a weighted sled down a lane. Your feet stay on the floor. There is no jump and no landing. A sled push workout can raise the heart rate without the pounding of a fast run.
You load a sled. You take a long body line. You march or stride while the sled slides. NHS and CDC adult guides still want at least 150 minutes of moderate aerobic activity a week, plus muscle work on two days. Short sled bouts can sit in the vigorous or hard-breathing part of that mix. They do not have to replace a walk.
This is a how-to for healthy adults in a gym that owns a sled. It is not a race protocol. It is not a treatment for sore knees. If a joint swells or gives way, skip the lane and get personal advice.
Why a sled push is hard work without a jump
Running has a flight phase. Both feet leave the ground. Landing repeats that impact. A sled stays in contact with the floor. You still work the legs, hips and trunk. You still breathe hard. You do not have to bounce.
NHS osteoarthritis pages still encourage activity you can tolerate, often with less impact than long runs. A sled is not named there. The idea is the same: keep moving in a way the joints can repeat.
CDC adult activity still uses 150 minutes of moderate work, or 75 minutes of vigorous work, or a mix. A hard sled lane can feel vigorous. Count the minutes you actually move. Rest does not count as the aerobic total. WHO uses a 150 to 300 minute moderate band for extra benefit.
If you are over 50, keep the load light. The strength training over 50 guide is a calmer on-ramp. A slow walk with a light sled still counts as practice.

How to set a sled push without a sprint start
Clear the lane. Check that plates are seated and collars are tight. Stand behind the high handles if you are new. Hands on the posts at about shoulder height. Long spine. Eyes forward, not at your shoes.
Lean in until you feel the sled want to move. Then march. Push the floor away. Keep the steps even. At the end of the lane, slow down before the bumper. Walk back. Do not drag the sled by a plate that can slide off.
Low handles make a more horizontal drive. They also load the legs more. Start high. Drop the hands later if the gym has low posts and your back stays quiet. A beginner gym workout plan can hold the rest of the session while you learn this lane.
- Start light. An empty sled is enough in many gyms.
- Set a long line. Hips and shoulders rise together. Do not fold in half.
- Drive, then slow. The last two metres are for braking, not a crash.
- Walk back. Use the return as rest unless a coach set a drag.
- Breathe. Talk-pace at the start of the next lane is a fair check.

Load, distance and a driving stride
Ten to twenty metres is a useful first lane. That is a cricket pitch strip, not a car park. Four to six lanes is plenty. Rest 60 to 90 seconds. You should be able to say a short sentence before you go again.
A heavy sled that barely moves is a grind, not conditioning. A flying empty sled that makes you sprint may be more impact than you wanted. Choose a load that lets you keep even steps. Our progressive overload guide applies as one small plate, not a doubled stack in week two.
ACSM health notes still treat regular muscle and aerobic work as the useful step. A sled push workout can sit on a strength day as a finisher, or on a mixed day in a hybrid strength and cardio week. Do not add hill sprints on the same afternoon if this pattern is new.
AHA adult activity pages match the 150-minute aerobic floor and two days of muscle work. Two short sled sessions a week are enough while you learn the drive.
A simple sled push workout you can repeat
Warm up for six minutes. Walk. Circle the hips. Do eight bodyweight sit-to-stands. Push the empty sled for one easy lane. Then start the working lanes.
Keep the session shorter than you think. Hard breathing adds up. Drink as you would on any gym hour. You do not need to empty a huge bottle. Match sips to thirst, as on any other indoor session.
| Item | First weeks | Once the drive is smooth |
|---|---|---|
| Load | Empty or one small plate | A load you can stride, not shuffle |
| Lanes | 4 | 6 |
| Lane length | 10 to 15 metres | 15 to 20 metres |
| Rest between lanes | 90 seconds | 60 to 90 seconds |
| Days each week | 1 to 2 | 2, not back to back |
| If it feels easy | Add one lane | Add the smallest plate |
| If it feels hard | Shorten the lane | Unload and keep the steps even |
Write the plate number and the number of lanes. Change one thing at a time. Check collars and the lane before each push. Our gym safety guide starts with that look-twice habit on every station, not only on barbells.
Joints, heat and who should skip the sled
Feet stay down, but knees and hips still work. A sharp joint pain is a stop, not a cue to lean harder. Swap to a bike or a walk if the lane feels wrong. Heat in a packed gym raises the effort. Slow the drive. Take a longer rest.
Do not push into a crowd. Do not leave plates on a sled in a walkway. Do not let the sled run into a rack. Children do not belong on the lane. Wear shoes that grip. Socks on rubber can skate.
If you have been told to limit impact or loading after surgery, wait for personal advice. The same applies during late pregnancy, or if a knee locks, swells, or gives way. A fan bike or a flat walk is a fair stand-in.
Stop for chest pain, faintness, unusual breathlessness, or pain that shoots down a leg. Call 999 in the UK or 911 in the US if those symptoms are sudden. Online cues cannot replace an exam.
A repeatable sled session with work:rest structure
Load the sled modestly. Lean in with straight arms or soft elbows, spine long, and drive with short powerful steps. Example: 8×20 metres hard pushes with 60–90 seconds rest, or 6×30 metres at a steady grind with longer rests. Warm up with an unloaded push first.
Low handles often bias a more horizontal drive; high handles feel more upright — pick based on comfort and gym equipment.
Train sleds after skill lifts or on conditioning days, not as a surprise finisher after a maximal deadlift every time.
| Template | Work | Rest |
|---|---|---|
| Power repeats | 8 × 20 m crisp | 90 s |
| Conditioning | 6 × 30–40 m steady | 60–75 s |
| Heavy grind | 5 × 15–20 m | 2 min |
| Easy teaching | 4 × 20 m light | As needed |
Faults, heat and joints
Rounded spine and pounding steps with a tiny load teach poor positions — lighten and lengthen the spine.
Rubber flooring that sticks unevenly can torque knees; pick a consistent lane.
In hot gyms, shorten the set list; heat plus anaerobic pushes is a nausea recipe for some.
Sled pushes in a hybrid runner–lifter week
Use sleds on days you want conditioning without eccentric muscle damage like downhill running.
Keep them away from key race-pace sessions if legs need freshness.
Empty sled technique practice still counts when learning.
Who should skip the sled
People with acute lower-limb injuries, chest pain on exertion, or clinician-restricted pushing/pulling should not DIY sled maxes.
Beginners can start with empty sled walks for pattern learning.
If the gym sled is shared, wipe handles and do not leave plates scattered.
Coaching cues and checkpoints for sled push workouts
Return to the key prescriptions for sled push workouts already set out above and execute them as written for two consecutive sessions before you invent variations.
Use the checkpoints below as a quick pre-set scan for sled push workouts. If any line fails, fix that line before you add load, speed or volume.
- Power repeats: 8 × 20 m crisp — 90 s
- Conditioning: 6 × 30–40 m steady — 60–75 s
- Heavy grind: 5 × 15–20 m — 2 min
- Easy teaching: 4 × 20 m light — As needed
After those two honest sessions, change only one variable in sled push workouts: a small load jump, one extra repeat, a slightly longer interval, or one fewer accessory set. Write the change in the log before you warm up.
Stop for sharp pain, chest pain, faintness or unusual breathlessness. Call 999 or 911 for sudden severe symptoms. This article is general information, not a diagnosis or a personalised rehab plan.
Frequently asked questions
Is a sled push easier on the knees than running?
High handles or low handles?
Does a sled push workout count as cardio or strength?
How often should I push the sled?
What if my gym has no sled?
Sources
- 1. Physical activity guidelines for adults aged 19 to 64
- 2. Osteoarthritis
- 3. Adult Activity: An Overview
- 4. What Counts as Physical Activity for Adults
- 5. Physical activity fact sheet
- 6. Osteoarthritis
- 7. American Heart Association Recommendations for Physical Activity in Adults
- 8. Physical Activity Guidelines
Guidance changes. Figures were checked against the sources above at the time of review; always confirm current advice with your GP, pharmacist or clinician.
Image credits
- Photo: Photo by William Choquette on Pexels / Openverse
- Photo: Photo by Leon Mart on Pexels / Openverse
- Photo: Photo by Victor Freitas on Pexels / Openverse
Was this useful?
Anyone can react — no account needed.


Discussion
0 comments · Name and email only · Email is never shown